
This article is separated into 20 "pages". You are currently on page #1. Each page contains a number of photos. You can right click on the large image and select "view image" to see the full version.
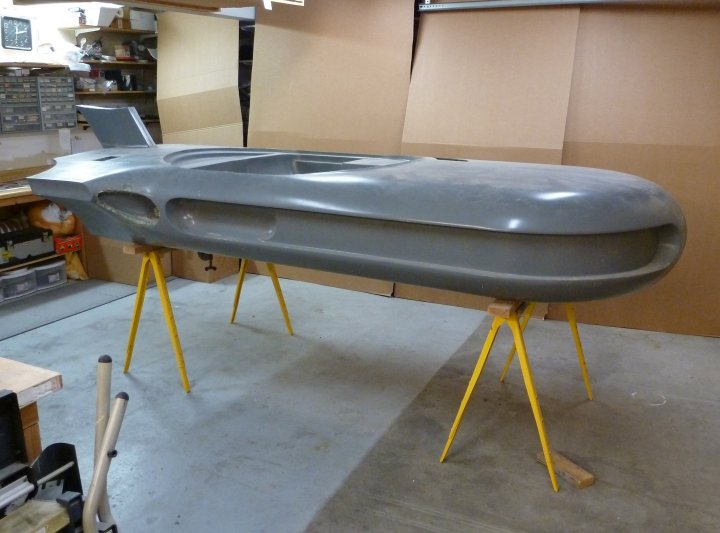
Here is the body when I started.
The body needed a lot of cleanup and I needed to fabricate a lot of parts.

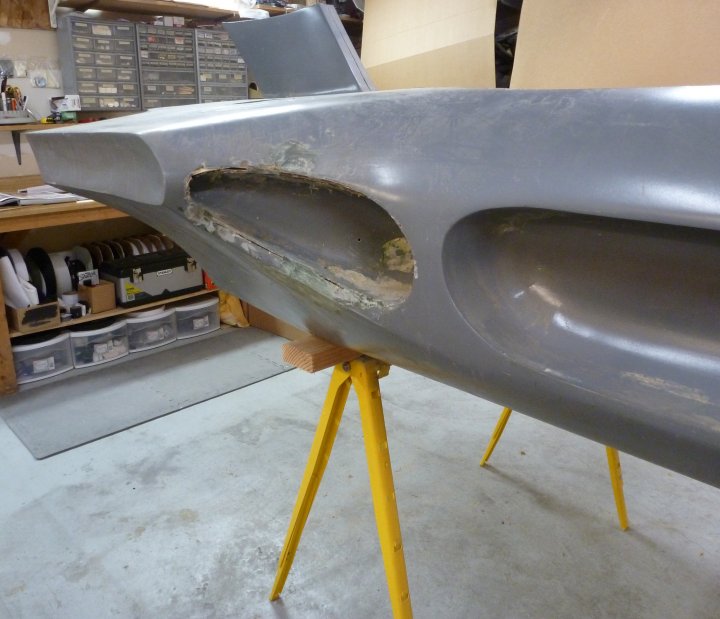
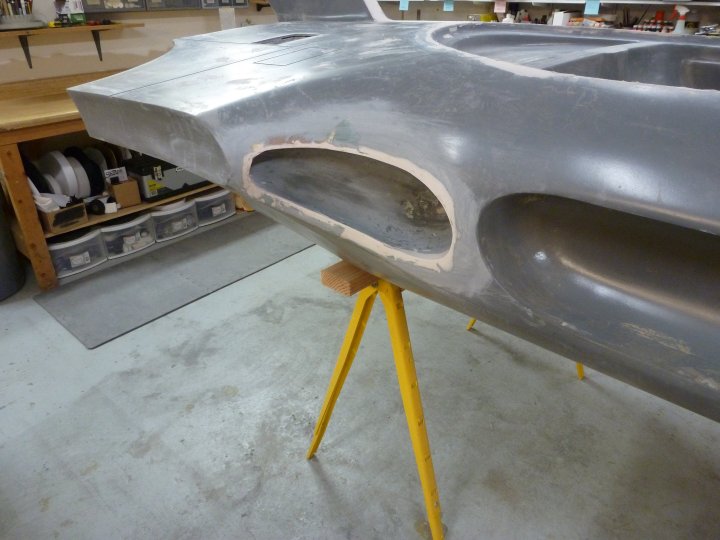
I cleaned up these "brake vents", and moved them back about 1/2".

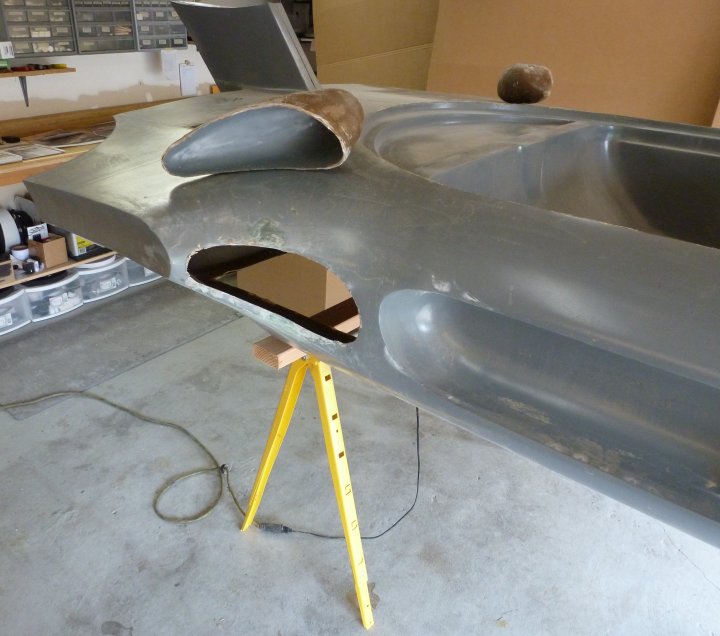
Here they are cut out.
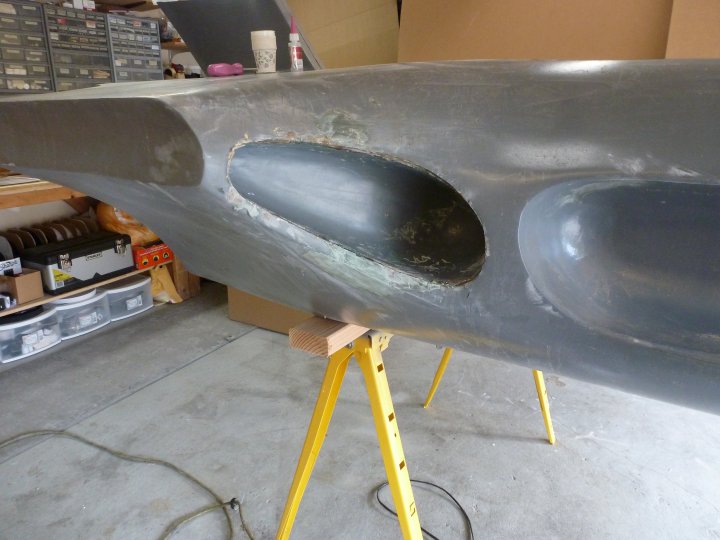
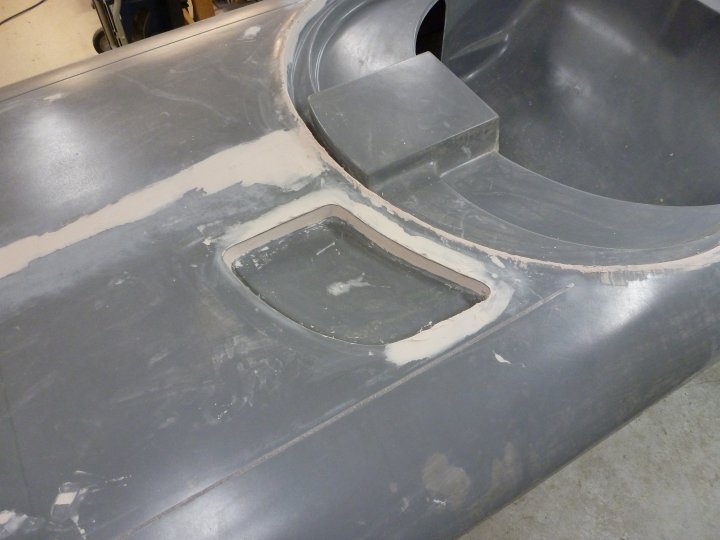
Now, they are re-installed and fiber-glassed into place from the back side.
The first coat of bondo to fill the seams.
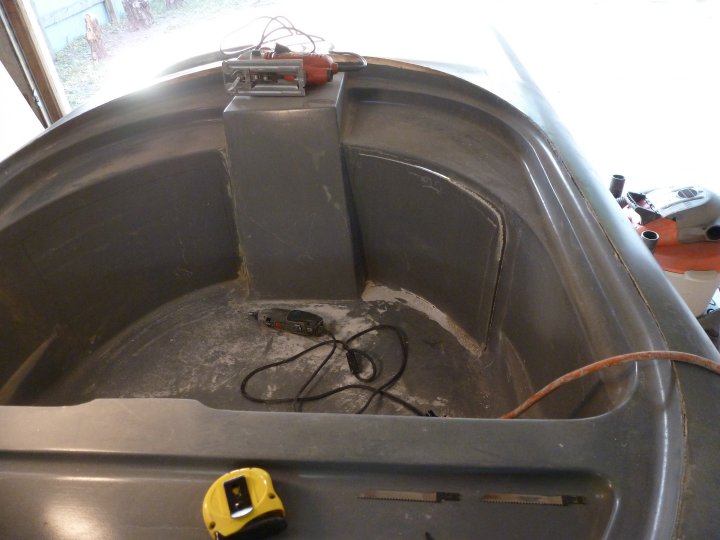
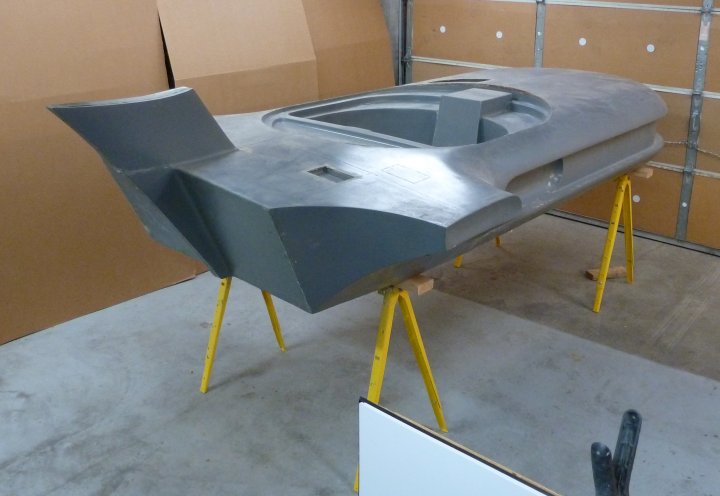
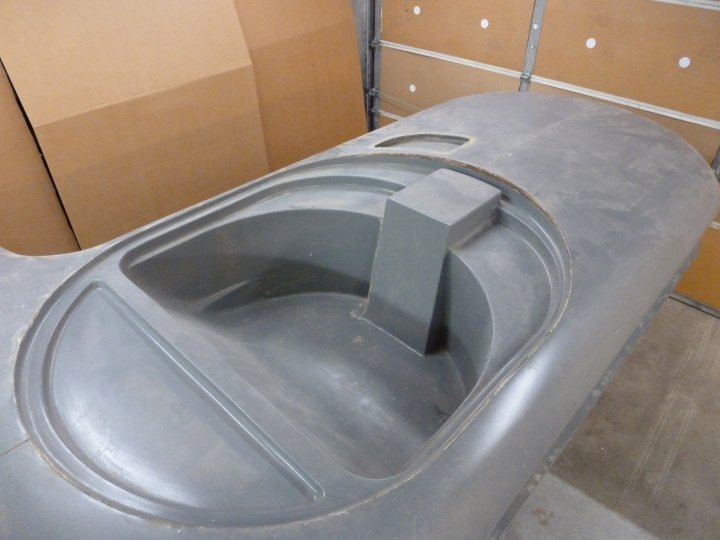
Many people jokingly asked if the speeder was remote controlled, since someone couldn't fit in the cockpit. I figured it was time to cut out the leg holes.
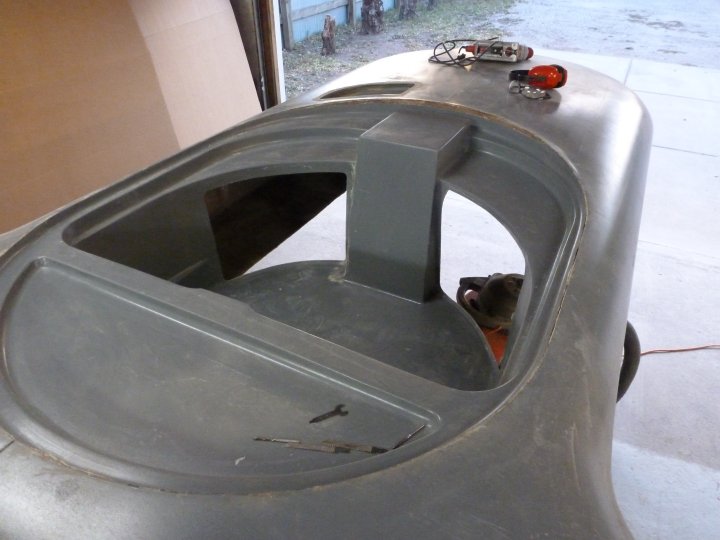
I even tried to cut out the leg holes to match the holes in the original speeder. The holes are still really narrow. Now I just need to recruit Luke and Obi-wan-sized people to drive it.
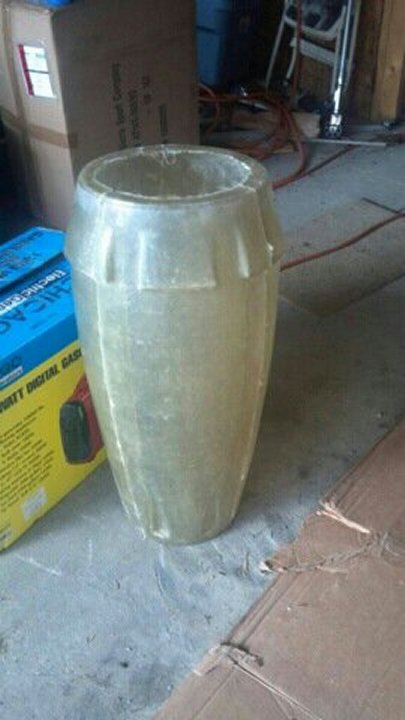
Here is one of the engine pods.
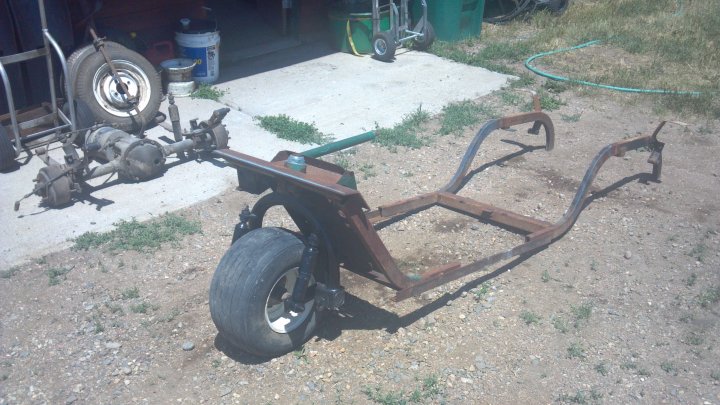
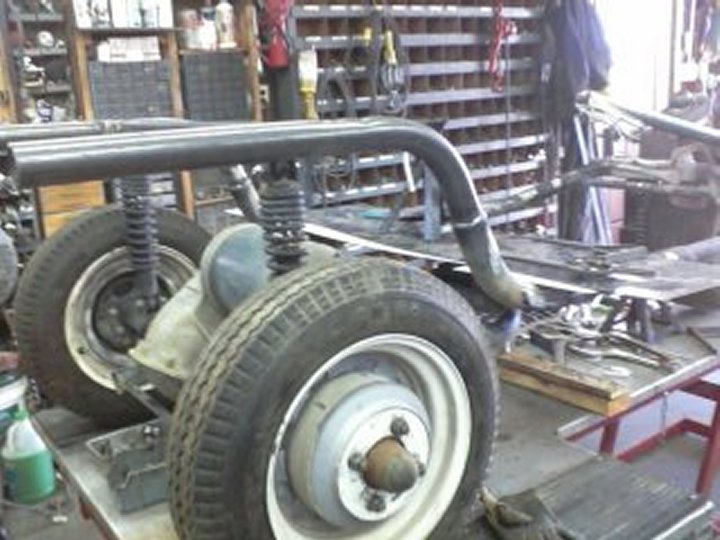
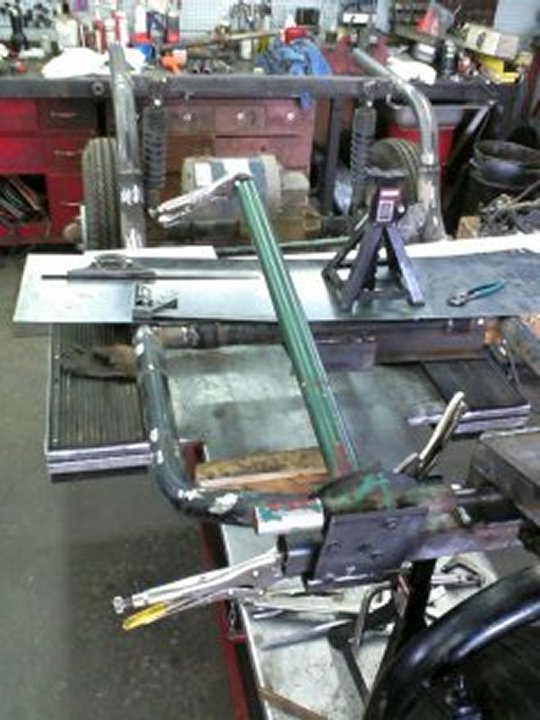
The remains of the 3 wheel golf cart after being stripped and extending the frame.
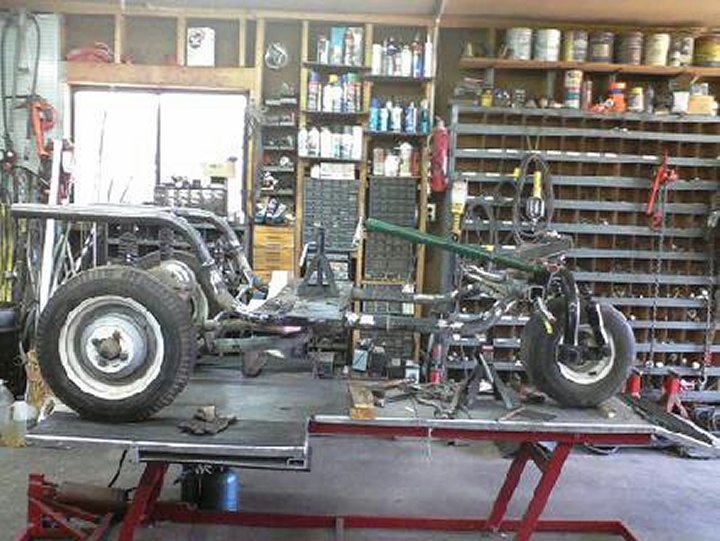
We decided the chassis wasn't really in great shape, so we started building a new frame by getting parts from another golf cart and doing some scratch building.

This is definitely the tedious, not-so-fun part of the project. I am anxious to get past the bondo and sanding phase.
For fun and for the sake of sharing, I am posting some of the "boring" steps.
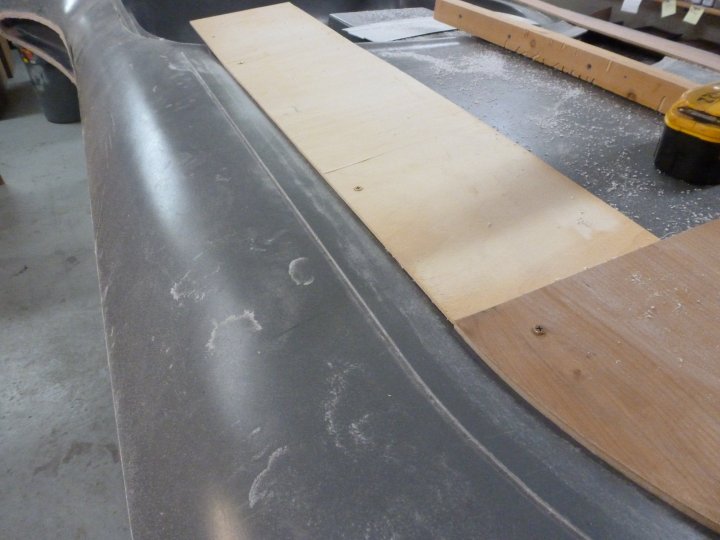
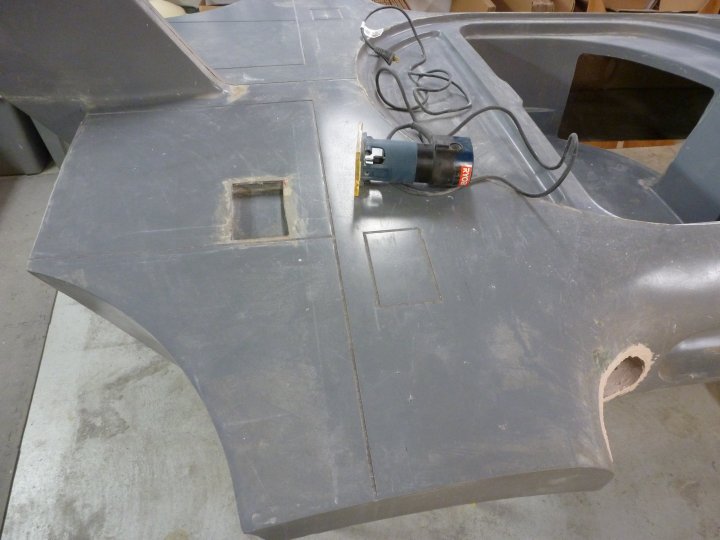
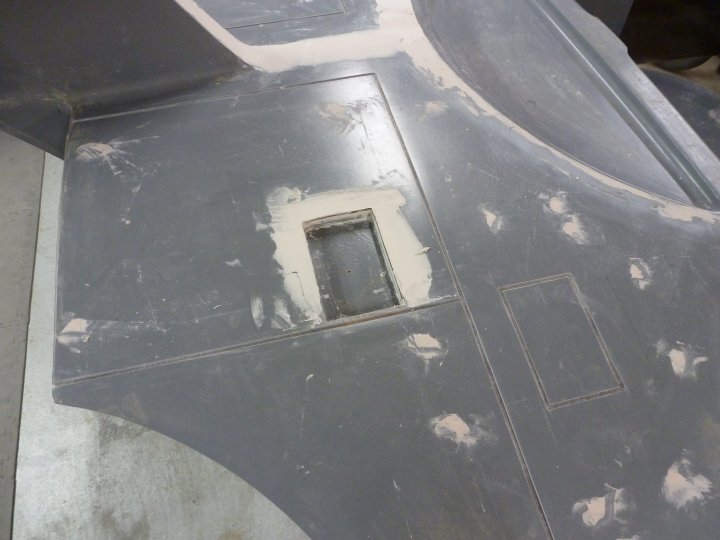
When the gentleman created the master, he had cut the body/panel lines into his "sculpt". For the molding and casting process to work, these body lines had to be filled in with clay so the casting wouldn't lock in the mold.
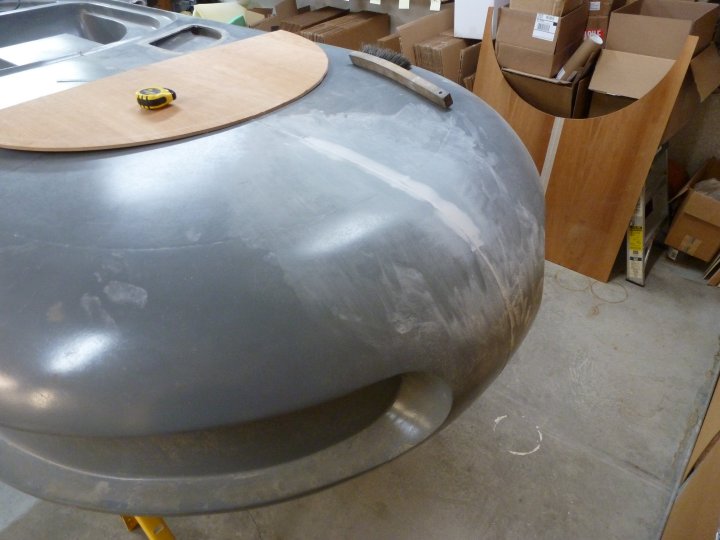
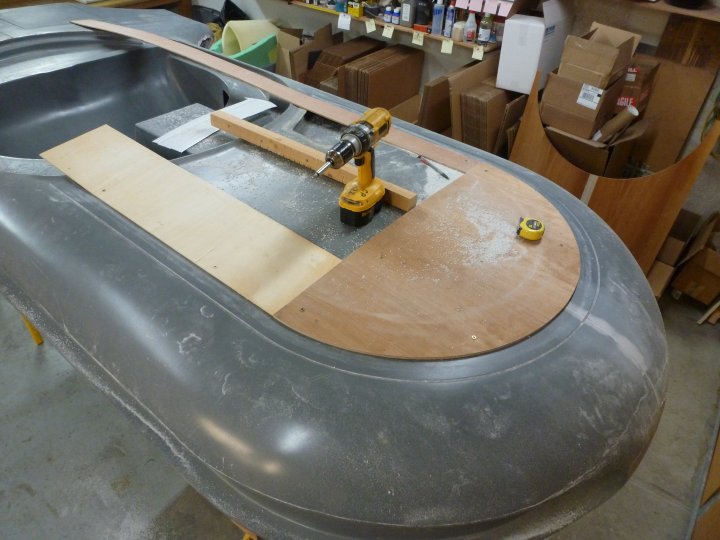
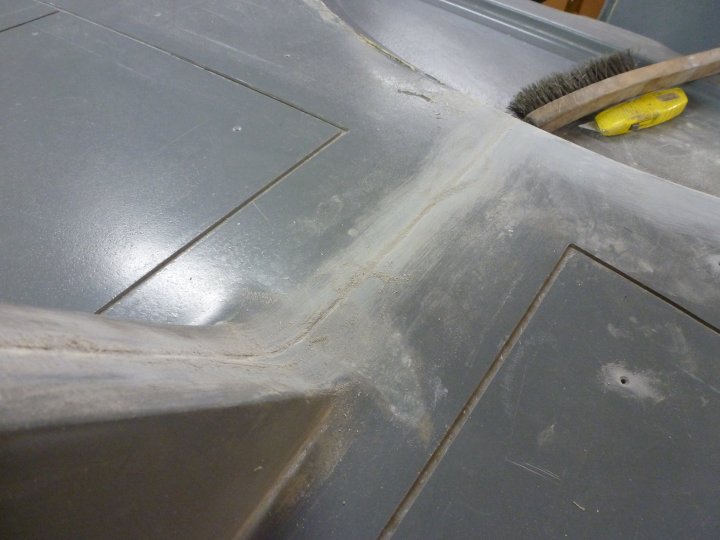
The panel lines were still evident which made it easier to locate and router them back out. For the panel line on the "hood", I filled a part of the seam between the two halves of the speeder.

This is a laminate router, for trimming counter top laminate. It's nice for stuff like this since it's small.
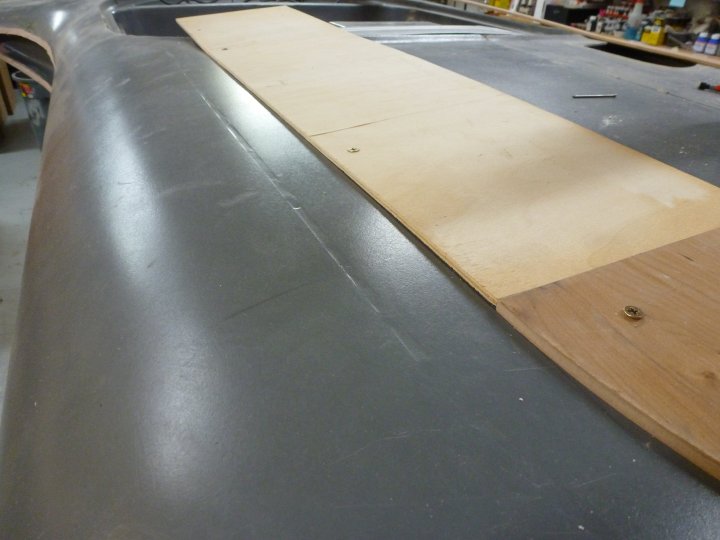
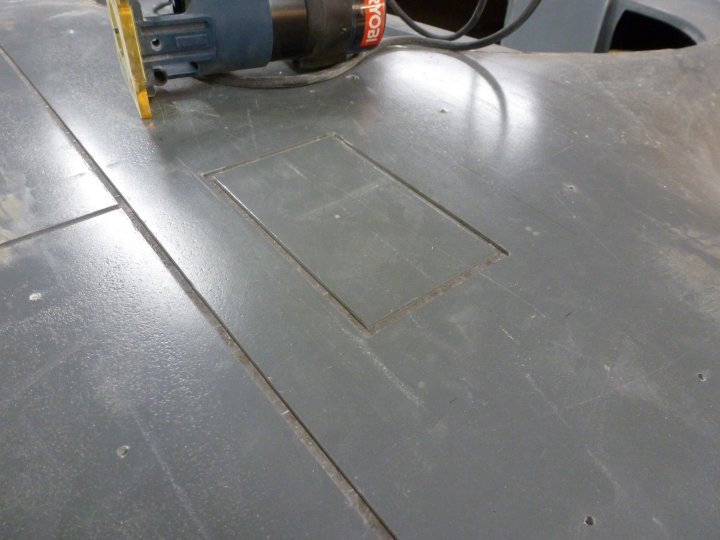
Here you can see the body panel line that was filled in, which I then cut out.
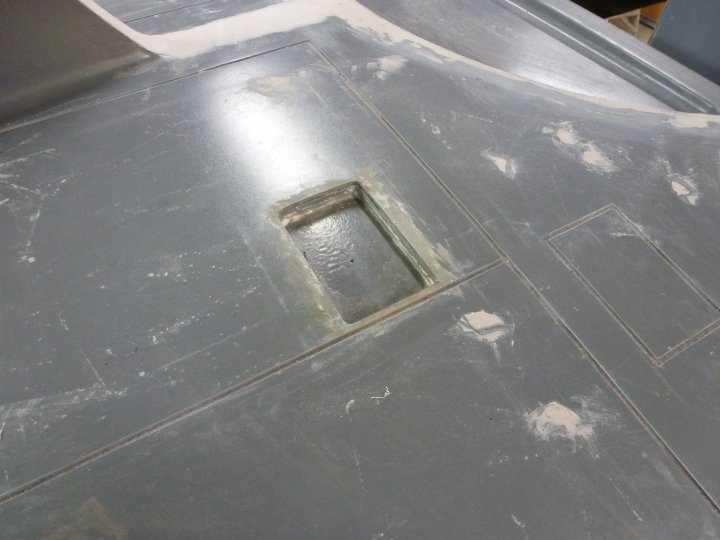
This is after cutting the panel line.
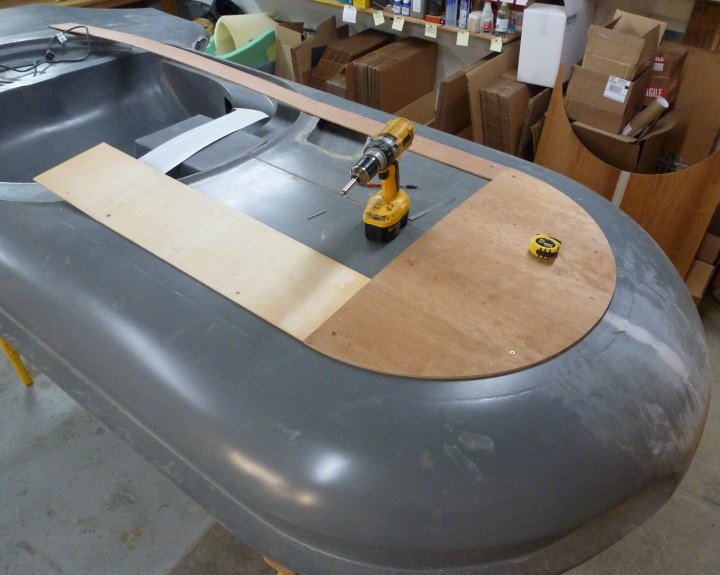
I routered the panel lines on the back of the speeder as well.
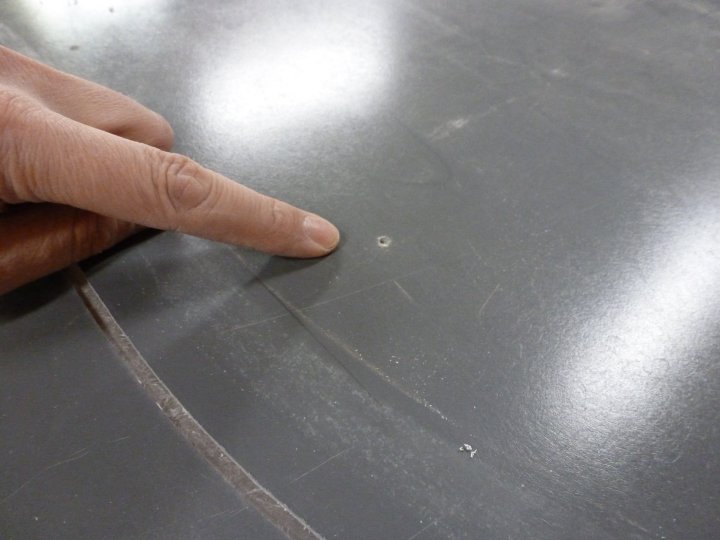
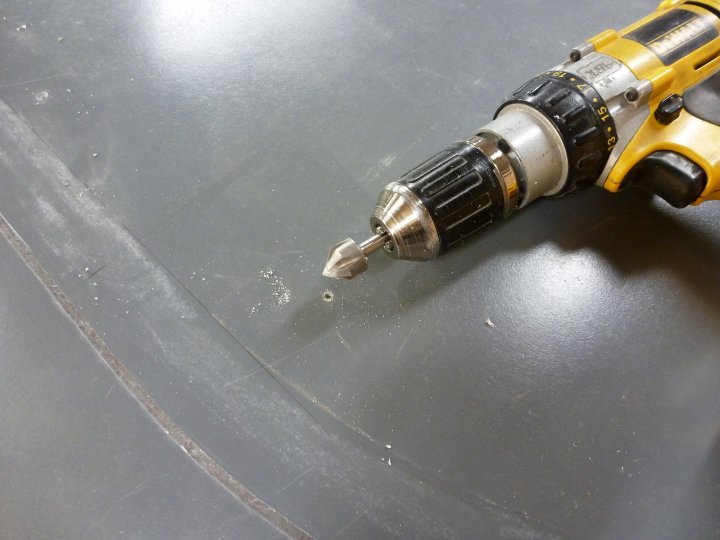
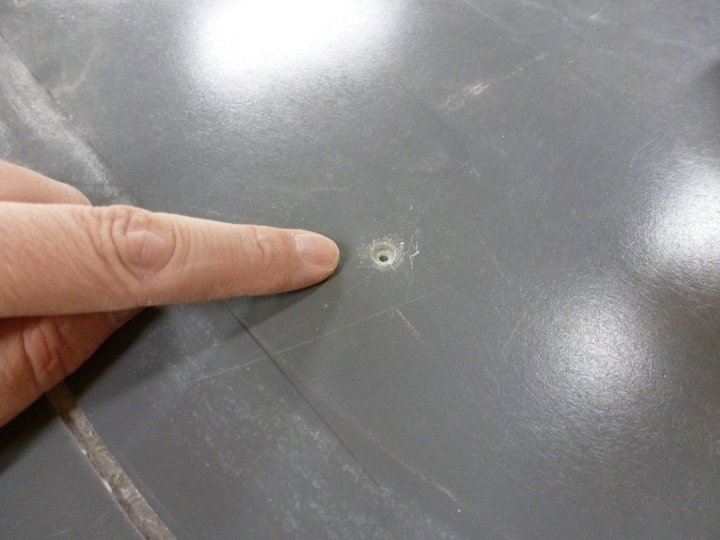
When patching something like this, whether it's a hole in fiberglass, drywall etc, you want to make it so your filler tapers and doesn't create a hard edge. I started by hitting all the screw holes with a counter sink bit.
Next I bondoed all the screw holes that were left from screwing the plywood guide to the speeder.
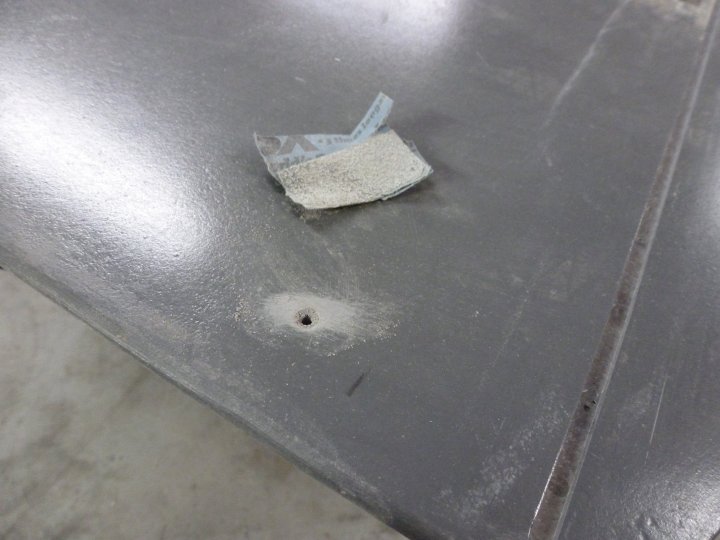
Next I hit the edges with a piece of sandpaper so the filler can taper out and not leave a hard edge.
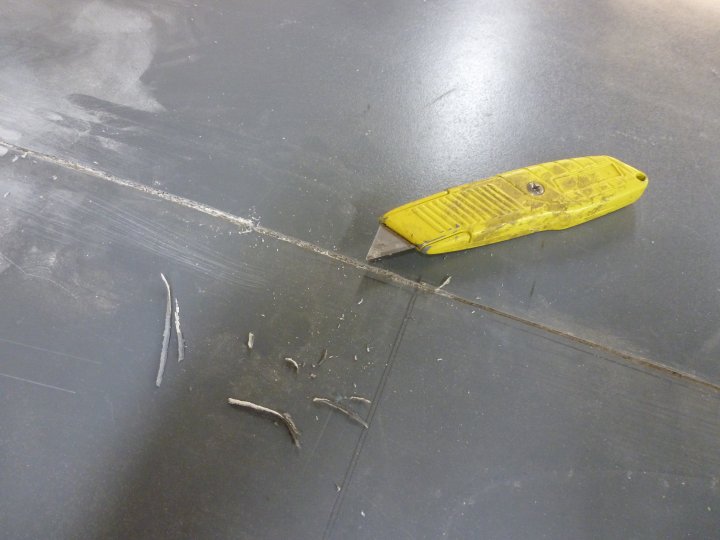
Next I "v'd out" the seam lines between the halves of the body. I used a razor knife to cut a tapered edge into the joint.
Then I hit the joints with sandpaper to help create the taper.
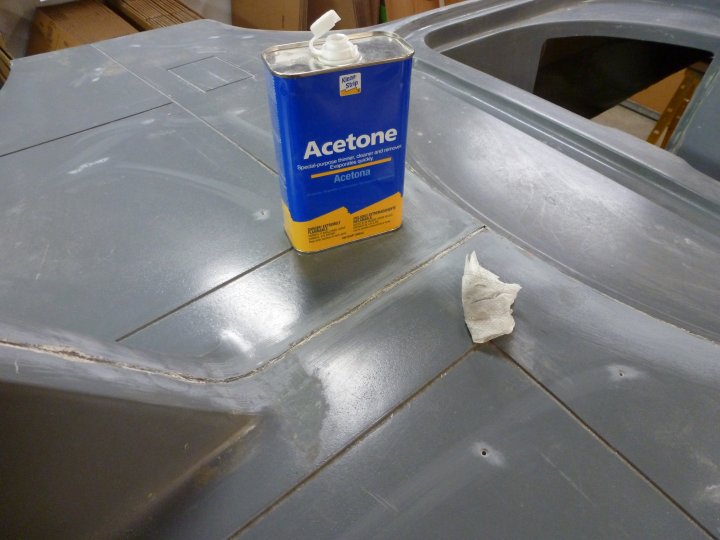
Then I vacuumed, dusted and cleaned all the areas to be bondoed with acetone.
Then I put my first coat of bondo on. You really want to work and press the bondo down into your joints and screwholes, and then taper it out. I sanded this and then checked to see if I need another thin layer of bondo prior to finish sanding and paint prep.
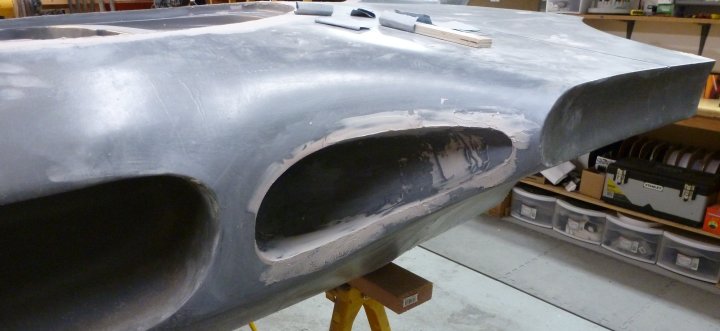
The recess areas of the body had some overhang. While I had the router out, I used a flush bit and cut the lips off of these recesses.

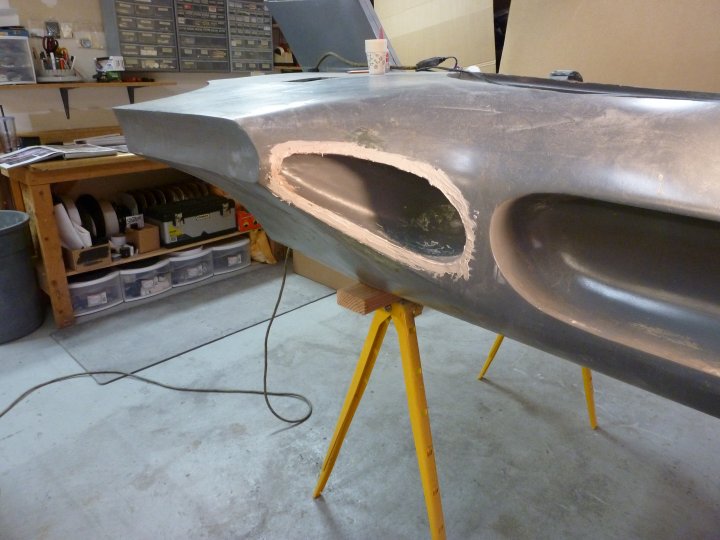
I sanded the first coat of bondo that was applied to the rear air scoops. They will need another pass or two of bondo.

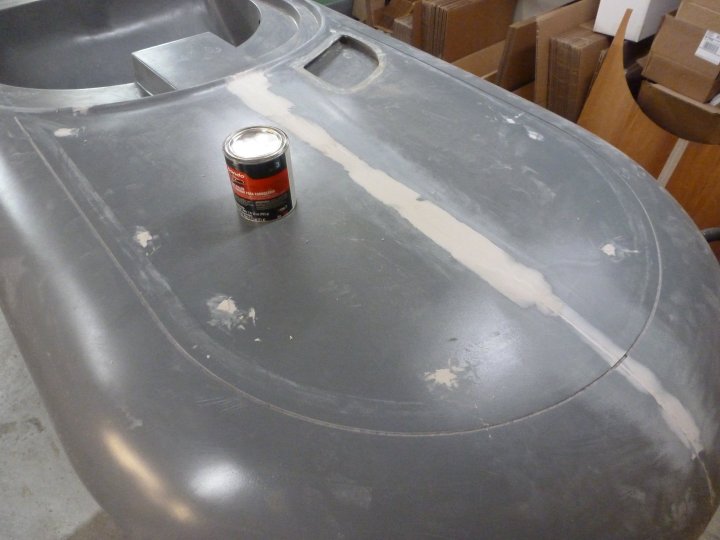
It doesn't look like much progress, but it's tedious. The first layer of bondo is on all the joints and holes.
I can't wait to get to the detailing. Bondo and sanding is for younger folk.
More bondo application.
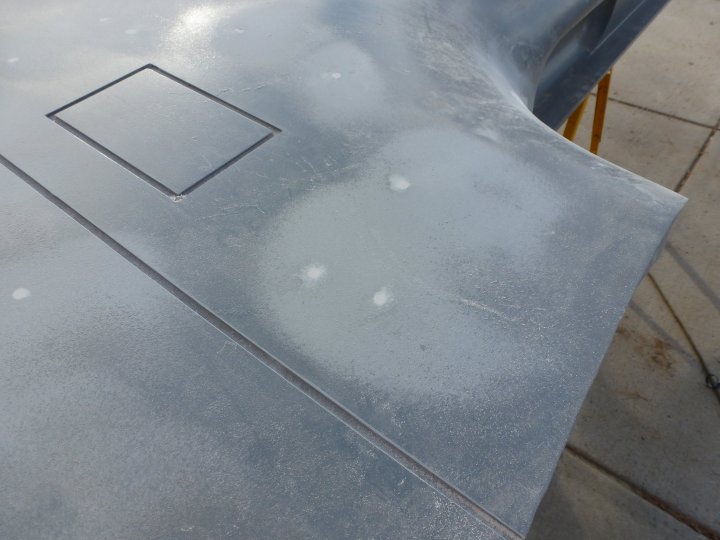
First I hit it with some 80 grit.
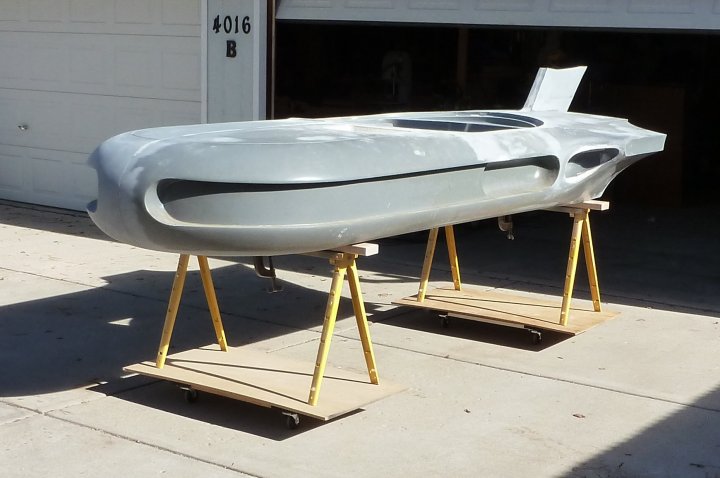
The weather was nice, so I rigged up a dolly system so I could roll it in and out of the workshop.